Agent Configuration
An agent is the AI personality that handles email for a specific inbox. This guide covers all configuration options available when editing an agent.

Ways to create an agent
Section titled “Ways to create an agent”Know Reply offers three ways to set up an agent:
- During signup — When you sign up with email/password and enter your website URL, your first agent is created automatically. See the Quick Start guide.
- Setup Wizard — Click Setup Wizard on the Dashboard to create a new agent with a guided walkthrough. See the Quick Start guide.
- Edit Agent — Click the pencil icon on any agent card to access the full configuration dialog described below.
Editing an agent
Section titled “Editing an agent”Click the pencil icon on any agent card to open the Edit Agent dialog. The dialog has two tabs — Configuration and Versions — with the configuration split into four steps.
Step 1: Basic Information
Section titled “Step 1: Basic Information”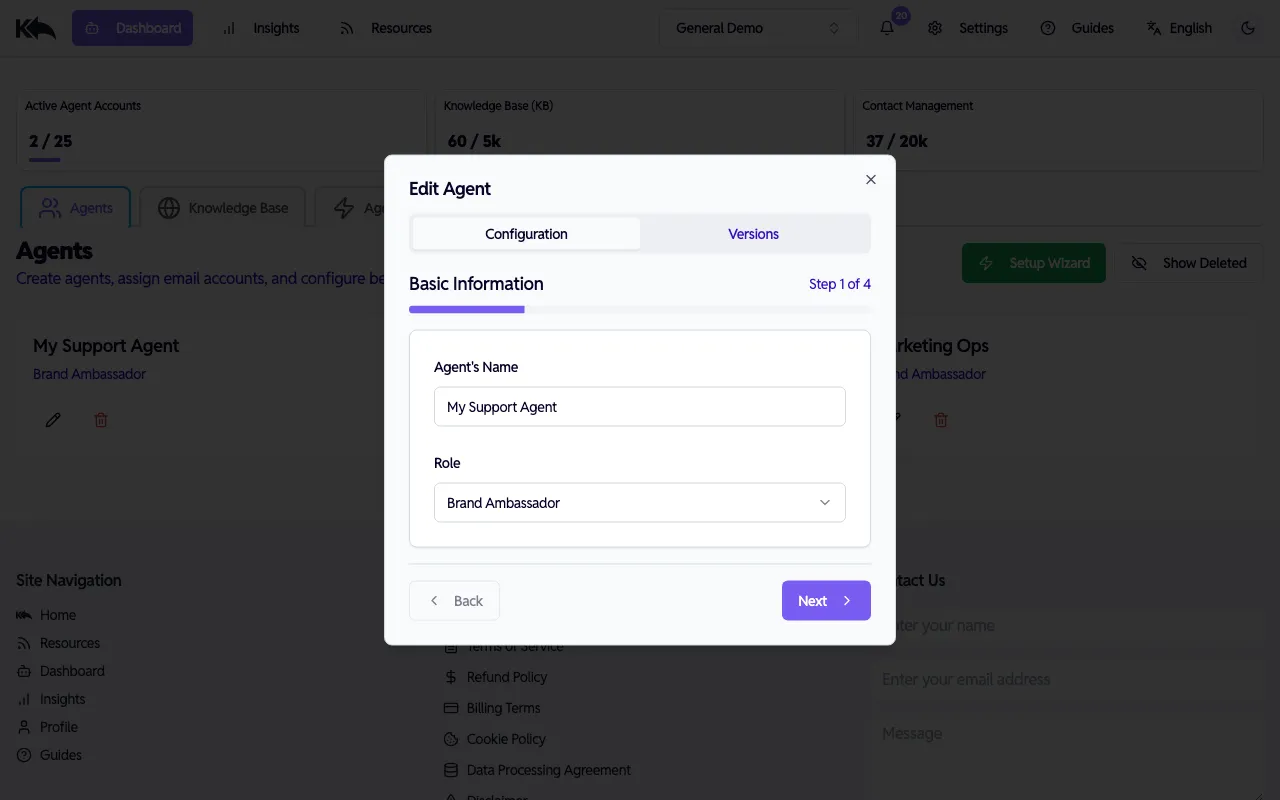
- Agent’s Name — The name that identifies the agent in the dashboard and email signatures
- Role — What the agent does. Select from preset roles:
- Customer Support, eCommerce Sales, General Inquiries, Enterprise Sales
- Community Manager, Brand Ambassador, Coach, Influencer
- Each role comes with a default persona and tone
Step 2: Special Instructions
Section titled “Step 2: Special Instructions”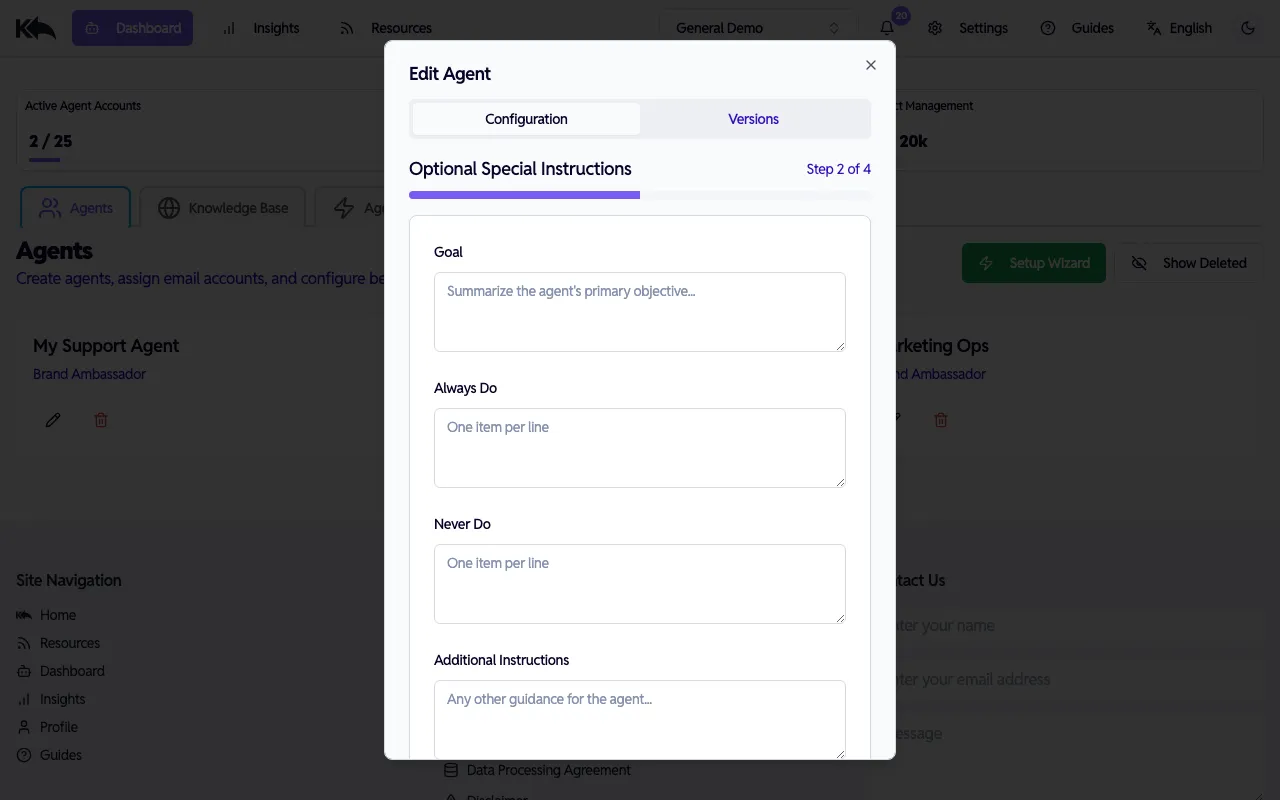
Fine-tune how your agent behaves beyond its base persona:
- Goal — The agent’s primary objective (e.g., “Help customers resolve billing issues quickly”)
- Always Do — Behaviors the agent should always follow (one per line)
- Never Do — Behaviors the agent should avoid (one per line)
- Additional Instructions — Any other guidance for handling conversations
Step 3: Logic
Section titled “Step 3: Logic”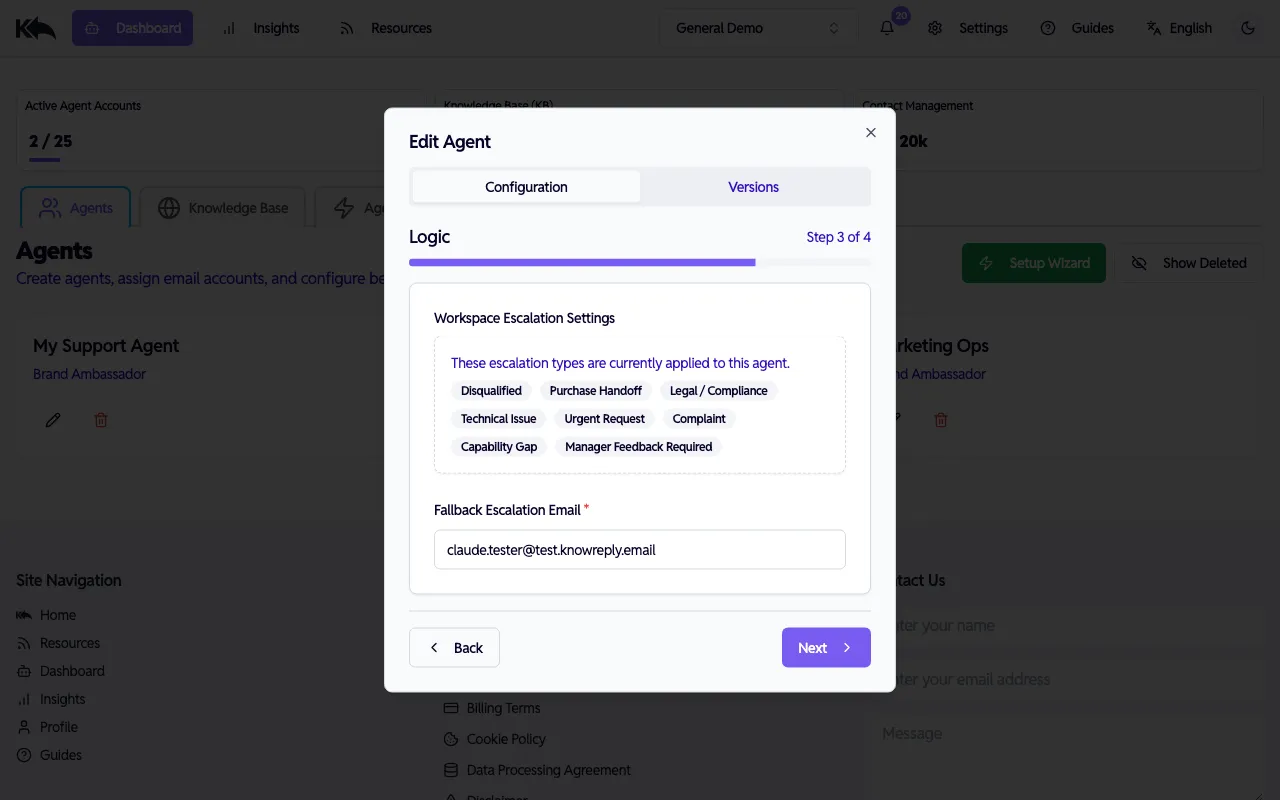
- Workspace Escalation Settings — Shows which escalation types are currently applied to this agent (e.g., Disqualified, Purchase Handoff, Legal/Compliance, etc.). Manage these in Settings > Escalation Types.
- Fallback Escalation Email — Required. Where conversations get forwarded when the agent hands off to a human and no specific routing email is set for the escalation type.
Step 4: Signature
Section titled “Step 4: Signature”
- Email Signoff — The signature appended to every reply. Supports rich text formatting (bold, italic, links, lists, alignment) for branding.
- Collect Feedback — When enabled, recipients can rate responses. Feedback appears in the Knowledge Base FAQ dashboard.
- Show Watermark — When enabled, a “Powered by Know Reply” footer appears in replies.
Click Save & Close to apply changes. Updates take effect immediately for new emails.
Multiple agents
Section titled “Multiple agents”Create multiple agents for different inboxes. Each agent has its own persona, tone, knowledge access, and escalation rules — they’re fully independent.
Specialization strategies
Section titled “Specialization strategies”The best results come from agents with focused, specific knowledge rather than one agent that tries to know everything.
By department:
support@company.com→ Support Agent (troubleshooting, returns, policies)sales@company.com→ Sales Agent (pricing, demos, product comparisons)hello@company.com→ General Agent (routing, basic inquiries)
By product line:
pro-support@company.com→ Pro Product Agent (knows only Pro product docs)enterprise-support@company.com→ Enterprise Agent (knows enterprise features and SLAs)
By role or audience:
partners@company.com→ Partner Agent (B2B tone, partnership knowledge)customers@company.com→ Customer Agent (B2C tone, product knowledge)
For agencies:
- One agent per client, each in its own workspace with isolated knowledge and branding
Agent limits by plan
Section titled “Agent limits by plan”| Plan | Active agents |
|---|---|
| Free | 1 |
| Starter | 5 |
| Pro | 10 |
| Premium | 25 |
| Enterprise | Unlimited |
Versions
Section titled “Versions”Each time you save changes to an agent, a new version is created. View previous versions from the Versions tab in the Edit Agent dialog to compare changes or understand how the agent’s configuration evolved.