Going Live
You’ve configured your agent, built your knowledge base, and tested responses in the Simulator. Time to go live.
Activating your agent
Section titled “Activating your agent”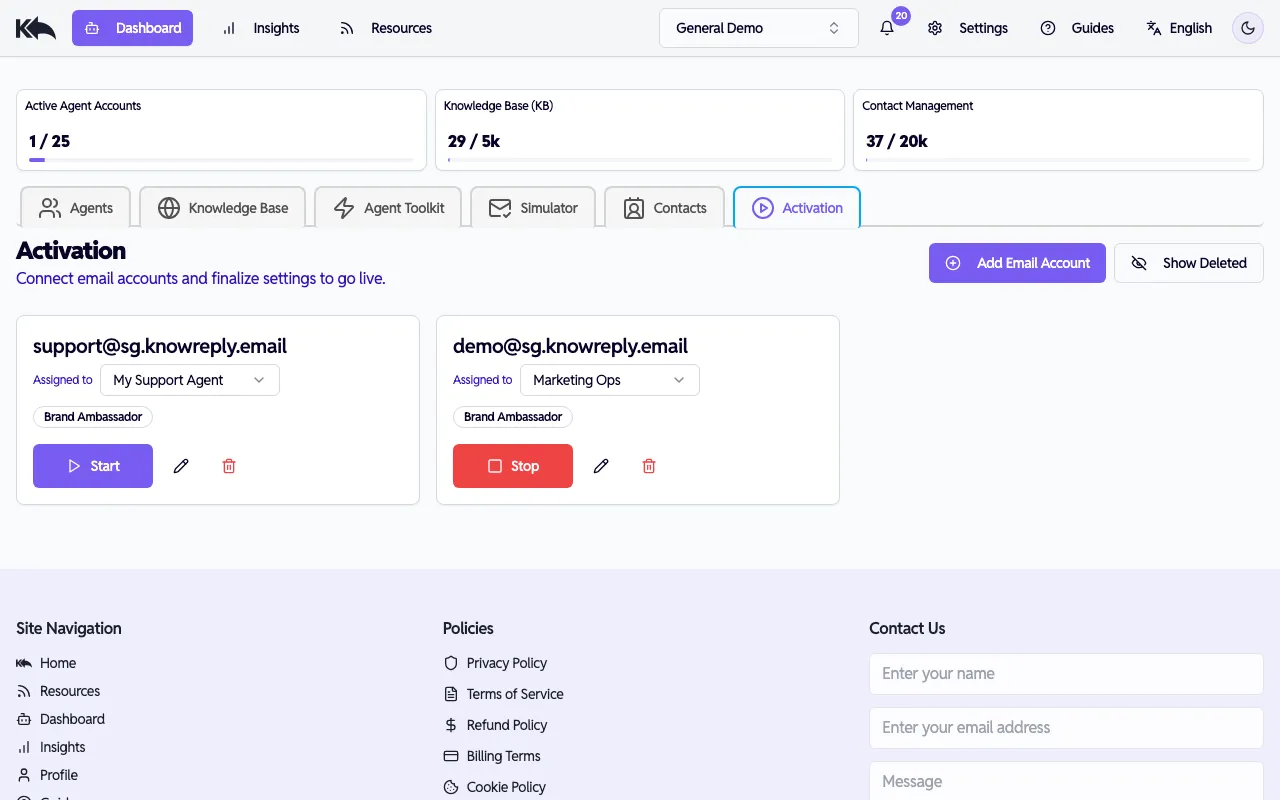
- Go to Dashboard > Activation
- Connect an email account to your agent (if you haven’t already via Connecting Email)
- Click Start on the email account card
- The agent immediately begins processing incoming emails
Each email account shows which agent it’s assigned to and its current status. You can reassign accounts to different agents using the dropdown.
Auto-send vs review mode
Section titled “Auto-send vs review mode”Depending on your plan and settings, responses either:
- Auto-send — Replies go out immediately without human review
- Review mode — Drafts wait in a queue for you to approve before sending
Start with review mode if you want to verify responses for the first few days. You can switch to auto-send once you’re comfortable. See Reply Modes for a detailed breakdown of how each mode works, including the review queue, auto-acknowledgments, and confidence-based sending.
Stopping an agent
Section titled “Stopping an agent”Click Stop on any email account card to pause processing. The agent stops handling new emails immediately. Existing drafts in the review queue are not affected.
Monitoring
Section titled “Monitoring”Once live, keep an eye on performance:
- Response volume — How many emails is the agent handling?
- Escalation rate — What percentage needs human attention?
- Sentiment — How are customers responding to AI replies?
- Undelivered emails — Are any messages failing to process?
See Analytics & Insights for details on all available dashboards.
You’re live! Your agent is now handling replies to your campaigns, newsletters, and transactional emails.